Why Choose Between Cheesecake and Pineapple Upside-Down Cake?
Most dessert tables end up with two pans instead of one, because nobody wants to pick between the tangy caramelized pineapple of an upside-down cake and the rich, dense pull of real cheesecake. The idea that combining them would just create a soggy, collapsed mess is honestly the only reason more people haven’t tried it — the two layers hold their own shape better than you’d expect.
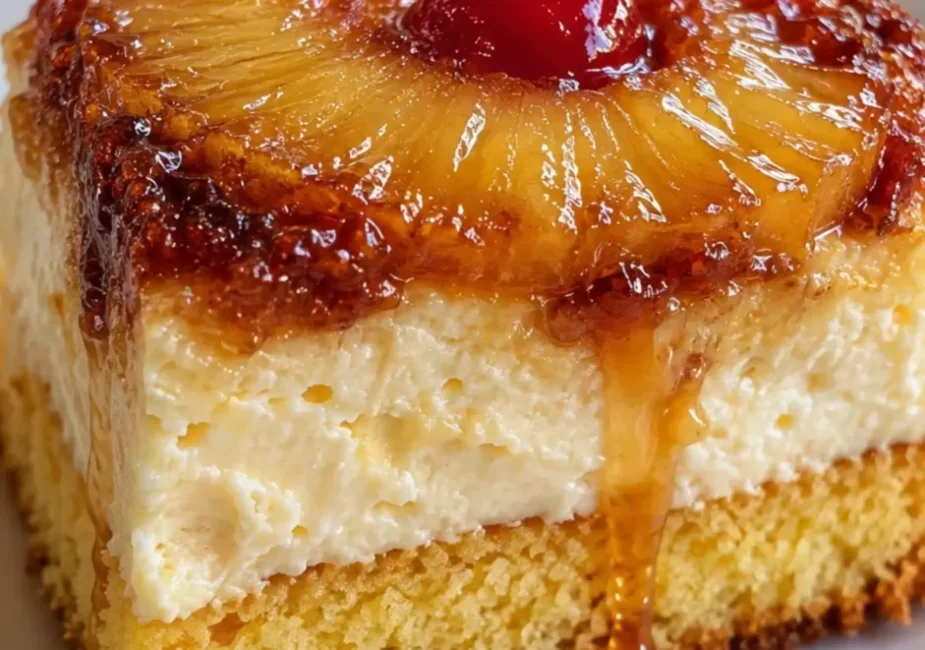
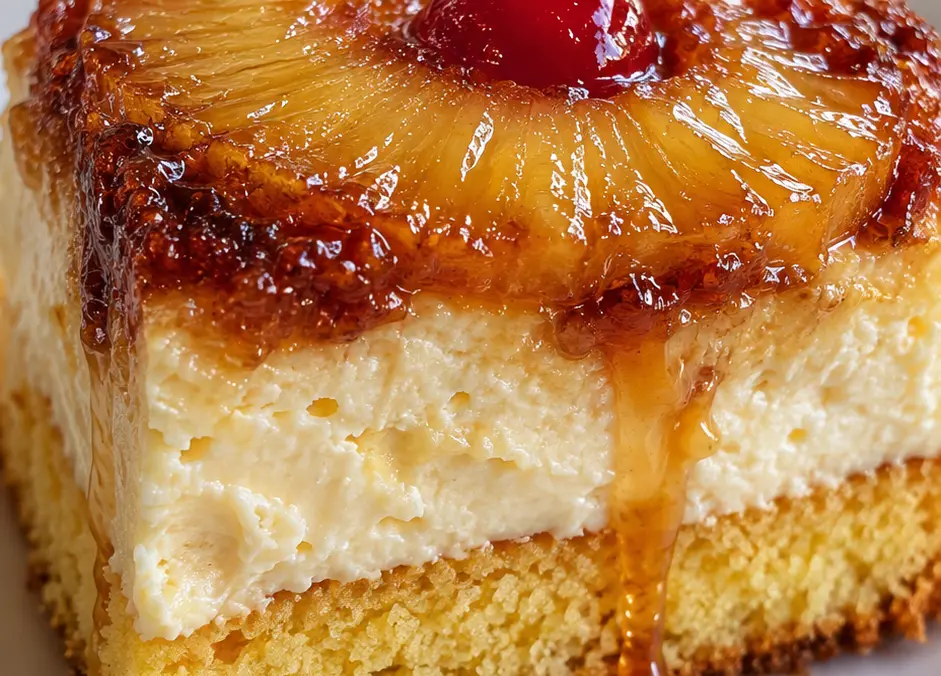
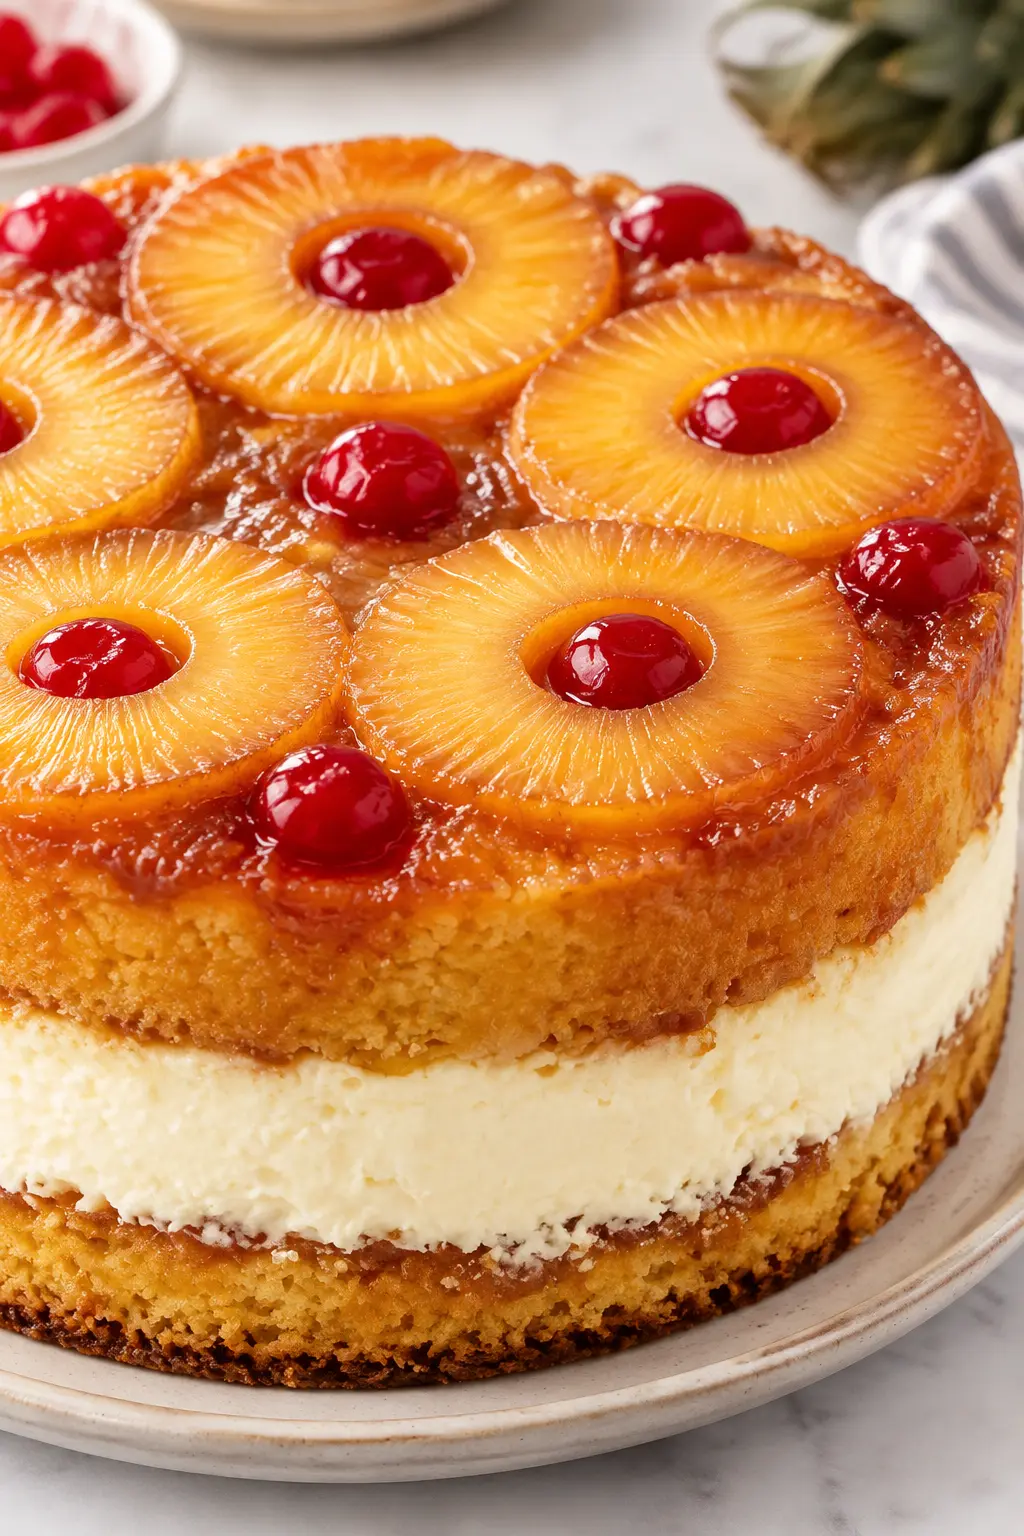
This version bakes both together in a single pan, then gets flipped to reveal a glossy pineapple top sitting over a genuine cheesecake layer. Here’s how it comes together.
Why You’ll Love It
- Two desserts in one pan no need to choose, and no need to bake two separate things for one gathering.
- The overnight chill before flipping is what makes this work rushing that step is the single biggest reason this kind of layered dessert collapses when inverted. More on that below.
- A genuine cheesecake layer, not a cheesecake-flavored cake mix shortcut, so the texture contrast between layers actually reads as intentional.
- Make-ahead by necessity, which works out well for anyone hosting it needs to chill anyway, so there’s no last-minute scramble.
- Feeds a crowd from one 9×13 pan, making it a solid option for potlucks or holidays.
- Visually impressive without requiring any real decorating skill the pineapple and cherries do the work for you.
Recipe At a Glance
- Prep time: 30 minutes
- Cook time: 55 minutes
- Total time: about 1.5 hours active, plus a minimum 4-hour chill (overnight recommended)
- Servings: 12
- Estimated calories: ~420 per serving (estimate; varies by cake mix brand and topping amount)
- Estimated macros: ~6g protein, ~52g carbs, ~21g fat per serving
(Nutrition figures are estimates based on standard ingredient values, not a lab analysis use them as a general guide.)
Ingredients
For the pineapple layer:
- ½ cup unsalted butter, melted
- 1 cup packed brown sugar
- 1 can (20 oz) pineapple rings, drained (juice reserved)
- 10–12 maraschino cherries
For the cheesecake layer:
- 16 oz cream cheese, softened
- ½ cup granulated sugar
- 1 large egg
- 1 teaspoon vanilla extract
- ¼ cup sour cream
For the cake layer:
- 1 box (15.25 oz) yellow cake mix
- Ingredients called for on the box (typically eggs, oil, and water substitute the reserved pineapple juice for part of the water)
Ingredient notes: Softened cream cheese is non-negotiable here cold cream cheese straight from the fridge won’t blend smoothly, and you’ll end up with small lumps throughout the cheesecake layer. Swapping in the reserved pineapple juice for part of the water called for on the cake mix box adds a subtle fruitiness to the cake layer that plain water won’t give you.
Equipment Needed
- 9×13-inch baking pan
- Electric mixer (hand or stand)
- Large serving platter or tray, for flipping
- Cooling rack
Step-by-Step Instructions
- Preheat and prep the pan: Preheat the oven to 350°F. Line the bottom of the baking pan with parchment paper for easier release later.
- Build the pineapple layer: Pour the melted butter into the bottom of the pan and spread evenly. Sprinkle the brown sugar over the butter, then arrange the pineapple rings on top in a single layer, placing a cherry in the center of each ring.
- Make the cheesecake layer: Beat the softened cream cheese and sugar together until smooth and no lumps remain. Add the egg, vanilla, and sour cream, mixing just until combined overbeating at this stage can incorporate too much air and cause cracking later. Pour this mixture carefully over the pineapple layer, spreading it into an even layer.
- Mix and add the cake batter: Prepare the cake mix according to the box instructions, substituting the reserved pineapple juice for part of the water. Gently spoon the batter over the cheesecake layer, spreading carefully so the layers don’t mix together.
- Bake until set: Bake for 50–55 minutes, until the top is golden and a toothpick inserted into the cake layer comes out clean. The cheesecake layer underneath will still look slightly soft through the cake that’s expected at this stage.
- Cool completely, then chill overnight this is the step that actually determines success: Let the cake cool at room temperature for about an hour, then refrigerate for a minimum of 4 hours, ideally overnight. The cheesecake layer needs this full chilling time to firm up completely; flipping it while still warm or only partially set is exactly what causes the layers to collapse or slide apart the extra patience here is what keeps the pineapple and cheesecake layers distinct instead of merging into a soggy mess.
- Flip and serve: Run a thin knife around the edges of the pan to loosen it, place a serving platter over the top, and carefully invert the pan. Lift the pan away slowly, then peel off the parchment paper. Slice and serve chilled or slightly cooled.
Common Mistakes to Avoid
- Flipping the cake before it’s fully chilled. This is the exact cause of collapsed or slid-apart layers — give it the full overnight rest if you can.
- Using cold cream cheese. It won’t blend smoothly and leaves lumps throughout the cheesecake layer.
- Overbeating the cheesecake mixture. Too much air incorporated at this stage increases the chance of cracking as it bakes and cools.
- Skipping the parchment paper. Without it, the caramelized sugar and pineapple layer can stick stubbornly to the pan bottom during the flip.
- Rushing the initial room-temperature cool before refrigerating. Putting a hot pan directly into the fridge can cause condensation that affects the texture of the top cake layer.
How to Store & Reheat
Store leftovers covered in the fridge for up to 4 days, since the cheesecake layer needs consistent refrigeration. This dessert also freezes well in individual slices for up to 2 months — wrap each slice tightly and thaw overnight in the fridge before serving.
This is a chilled dessert rather than one meant to be reheated, but if you prefer it slightly warmed, a few seconds in the microwave will take the chill off without melting the cheesecake layer, as long as you stop well short of actually heating it through.
Recipe Variations & Substitutions
- Gluten-free: Use a gluten-free yellow cake mix — the rest of the ingredients are naturally gluten-free as written.
- Different fruit: Sliced peaches or apricots can stand in for the pineapple for a different flavor profile using the same technique.
- Spiced version: Add ½ teaspoon of cinnamon to the cake batter for a warmer flavor that pairs well with the caramelized topping.
- Smaller batch: Halve all the ingredients and bake in an 8×8 pan, reducing the bake time to around 35–40 minutes.
- Coconut twist: Sprinkle shredded coconut over the pineapple layer before adding the cheesecake mixture for a piña colada-style variation.
- Lower-sugar version: Reduce the brown sugar in the pineapple layer to ¾ cup — the pineapple itself still provides plenty of sweetness.
Nutritional & Health Angle
This is a dessert built around cream cheese, sugar, and cake mix, so it’s meant to be enjoyed as an occasional treat rather than a regular part of a balanced diet. Using reduced-fat cream cheese or trimming the brown sugar slightly are both easy ways to lighten it a bit without changing the overall structure. There’s nothing here framed as a health food — just an honest, from-the-pan dessert built for sharing.
FAQ
Can I make this ahead of time?
Yes — in fact, it needs to be made ahead, since the full chilling time (ideally overnight) is required before flipping and serving.
Why did my cheesecake layer crack?
This usually comes from overbeating the mixture before baking, which incorporates too much air, or from a too-hot oven — double-check your oven temperature with a separate thermometer if this happens consistently.
Can I use a different cake mix flavor?
Yellow cake mix is the classic pairing here, but a white cake mix works nearly as well if that’s what you have on hand.
Is this recipe gluten-free?
Not as written, since it relies on a standard cake mix swap in a gluten-free yellow cake mix to make the full recipe gluten-free.
Can I use fresh pineapple instead of canned?
Yes, though you’ll need to simmer fresh pineapple slices briefly in a little sugar first to soften them and create a similar syrupy base to what canned pineapple provides.
What if my layers slide apart when I flip it?
This almost always means the chilling time was cut short a minimum of 4 hours is needed, and overnight gives the most reliable, clean separation between layers.
Final Thoughts
The layers do most of the visual work here, but it’s really that overnight chill in the fridge that determines whether this dessert flips out clean or falls apart on the platter. It takes patience more than skill, and it’s worth planning ahead for.
What are you serving alongside a slice of this coffee, or a scoop of vanilla ice cream?
For the pineapple layer:
- ½ cup unsalted butter melted
- 1 cup packed brown sugar
- 1 can 20 oz pineapple rings, drained (juice reserved)
- 10 –12 maraschino cherries
For the cheesecake layer:
- 16 oz cream cheese softened
- ½ cup granulated sugar
- 1 large egg
- 1 teaspoon vanilla extract
- ¼ cup sour cream
For the cake layer:
- 1 box 15.25 oz yellow cake mix
- Ingredients called for on the box typically eggs, oil, and water substitute the reserved pineapple juice for part of the water
Preheat and prep the pan: Preheat the oven to 350°F. Line the bottom of the baking pan with parchment paper for easier release later.
Build the pineapple layer: Pour the melted butter into the bottom of the pan and spread evenly. Sprinkle the brown sugar over the butter, then arrange the pineapple rings on top in a single layer, placing a cherry in the center of each ring.
Make the cheesecake layer: Beat the softened cream cheese and sugar together until smooth and no lumps remain. Add the egg, vanilla, and sour cream, mixing just until combined overbeating at this stage can incorporate too much air and cause cracking later. Pour this mixture carefully over the pineapple layer, spreading it into an even layer.
Mix and add the cake batter: Prepare the cake mix according to the box instructions, substituting the reserved pineapple juice for part of the water. Gently spoon the batter over the cheesecake layer, spreading carefully so the layers don’t mix together.
Bake until set: Bake for 50–55 minutes, until the top is golden and a toothpick inserted into the cake layer comes out clean. The cheesecake layer underneath will still look slightly soft through the cake that’s expected at this stage.
Cool completely, then chill overnight this is the step that actually determines success: Let the cake cool at room temperature for about an hour, then refrigerate for a minimum of 4 hours, ideally overnight. The cheesecake layer needs this full chilling time to firm up completely; flipping it while still warm or only partially set is exactly what causes the layers to collapse or slide apart the extra patience here is what keeps the pineapple and cheesecake layers distinct instead of merging into a soggy mess.
Flip and serve: Run a thin knife around the edges of the pan to loosen it, place a serving platter over the top, and carefully invert the pan. Lift the pan away slowly, then peel off the parchment paper. Slice and serve chilled or slightly cooled.
Pineapple Upside-Down Cheesecake Cake
Last modified: September 17, 2026