Gravy is the only dish on the table that gets made under pressure. The turkey is resting, the potatoes are going cold, someone’s asking where the serving spoons are, and you’re standing over a roasting pan trying to turn brown sludge into something pourable. That’s why so much gravy ends up lumpy, pale, or tasting mostly of flour.
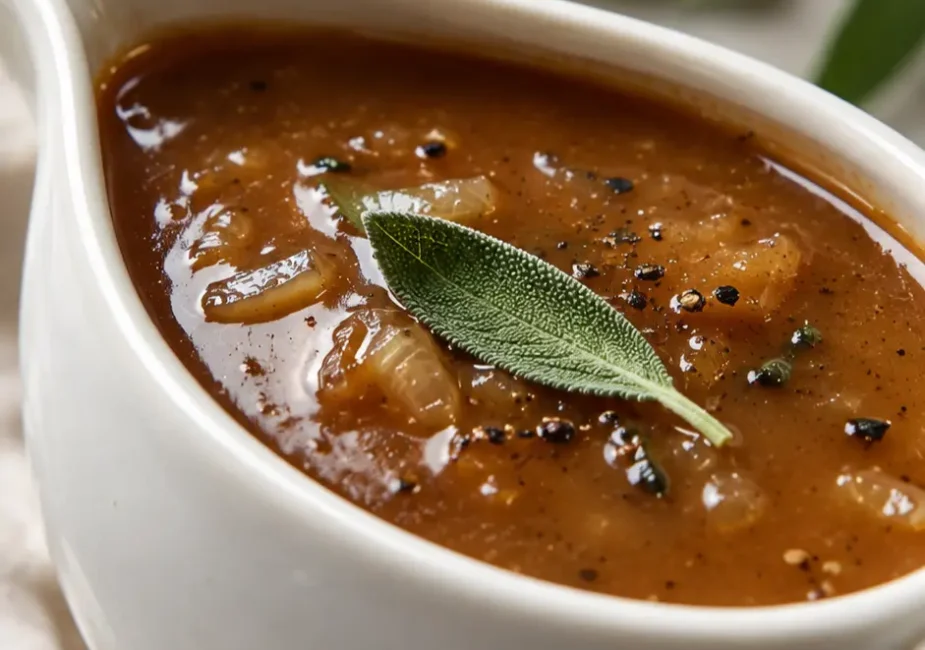
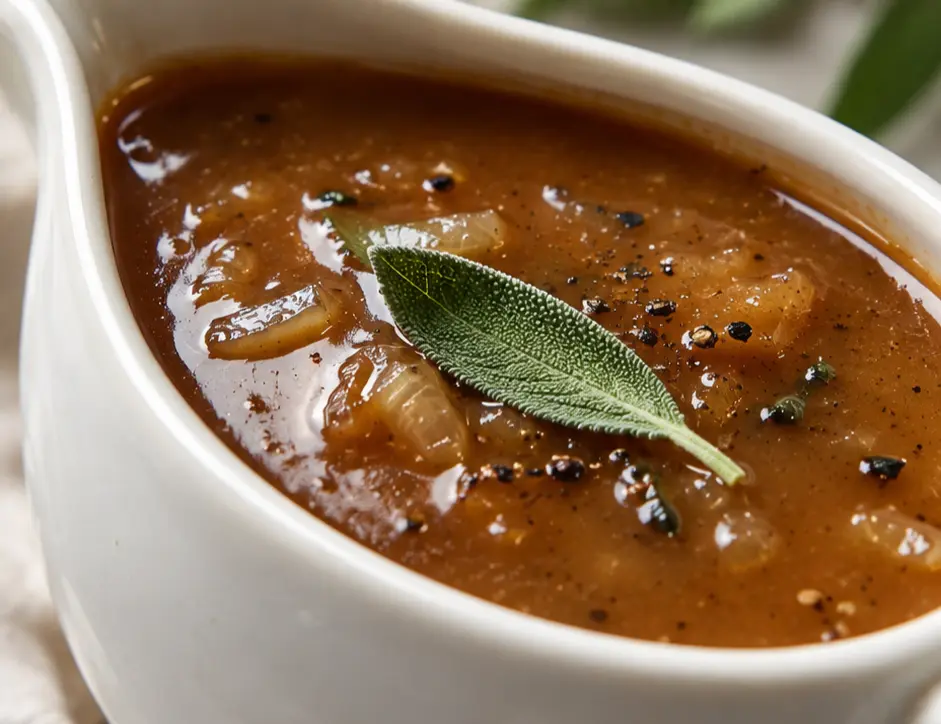
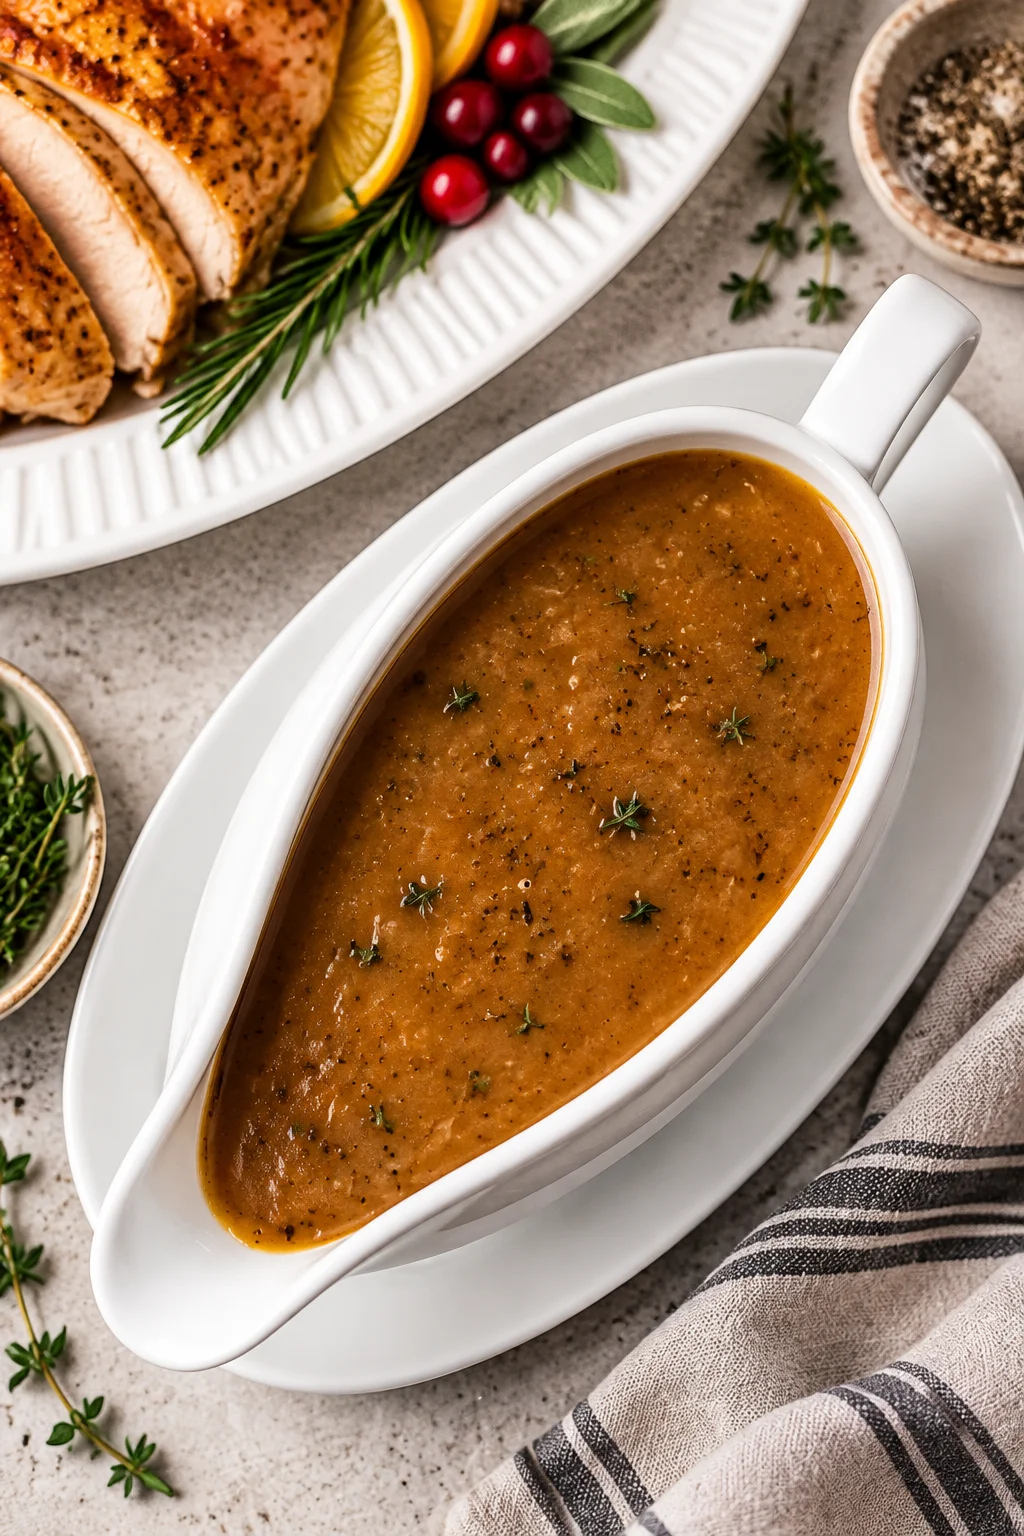
It doesn’t have to go that way. This homemade turkey gravy is thick enough to coat the back of a spoon, glossy rather than gluey, and built entirely from the fond stuck to the bottom of your roasting pan the best-tasting thing in your kitchen on Thanksgiving. The whole thing takes about fifteen minutes and one whisk. Here’s how it comes together.
Why You’ll Love It
- It uses the drippings you already have. Every browned bit welded to the roasting pan is concentrated turkey flavor. Deglazing pulls it into the gravy instead of into the sink.
- No lumps, and not by luck. The trick is temperature contrast: a hot roux meets cold stock, which gives you a full minute to whisk before the starch swells and seizes.
- It’s genuinely fast. Fifteen minutes from the moment the turkey comes out, which is roughly how long the bird needs to rest anyway.
- Make-ahead friendly. You can build the base days early with plain stock, then stir the fresh drippings in at the last minute.
- The texture is right. A 1:1 fat-to-flour ratio against four cups of liquid lands on pourable, not pasty. It thickens slightly in the gravy boat, which is exactly what you want.
- It tastes like turkey, not like a bouillon cube. A splash of acid at the very end sharpens everything without reading as sour.
Recipe Card Summary
|
|
| Prep time |
5 minutes |
| Cook time |
15 minutes |
| Total time |
20 minutes |
| Servings |
About 3½ cups (12 servings, ¼ cup each) |
Estimated nutrition per ¼-cup serving: ~70 calories · 5 g fat · 3 g carbs · 2 g protein. These are estimates only — your actual numbers depend on how fatty your bird was and what stock you use.
Ingredients
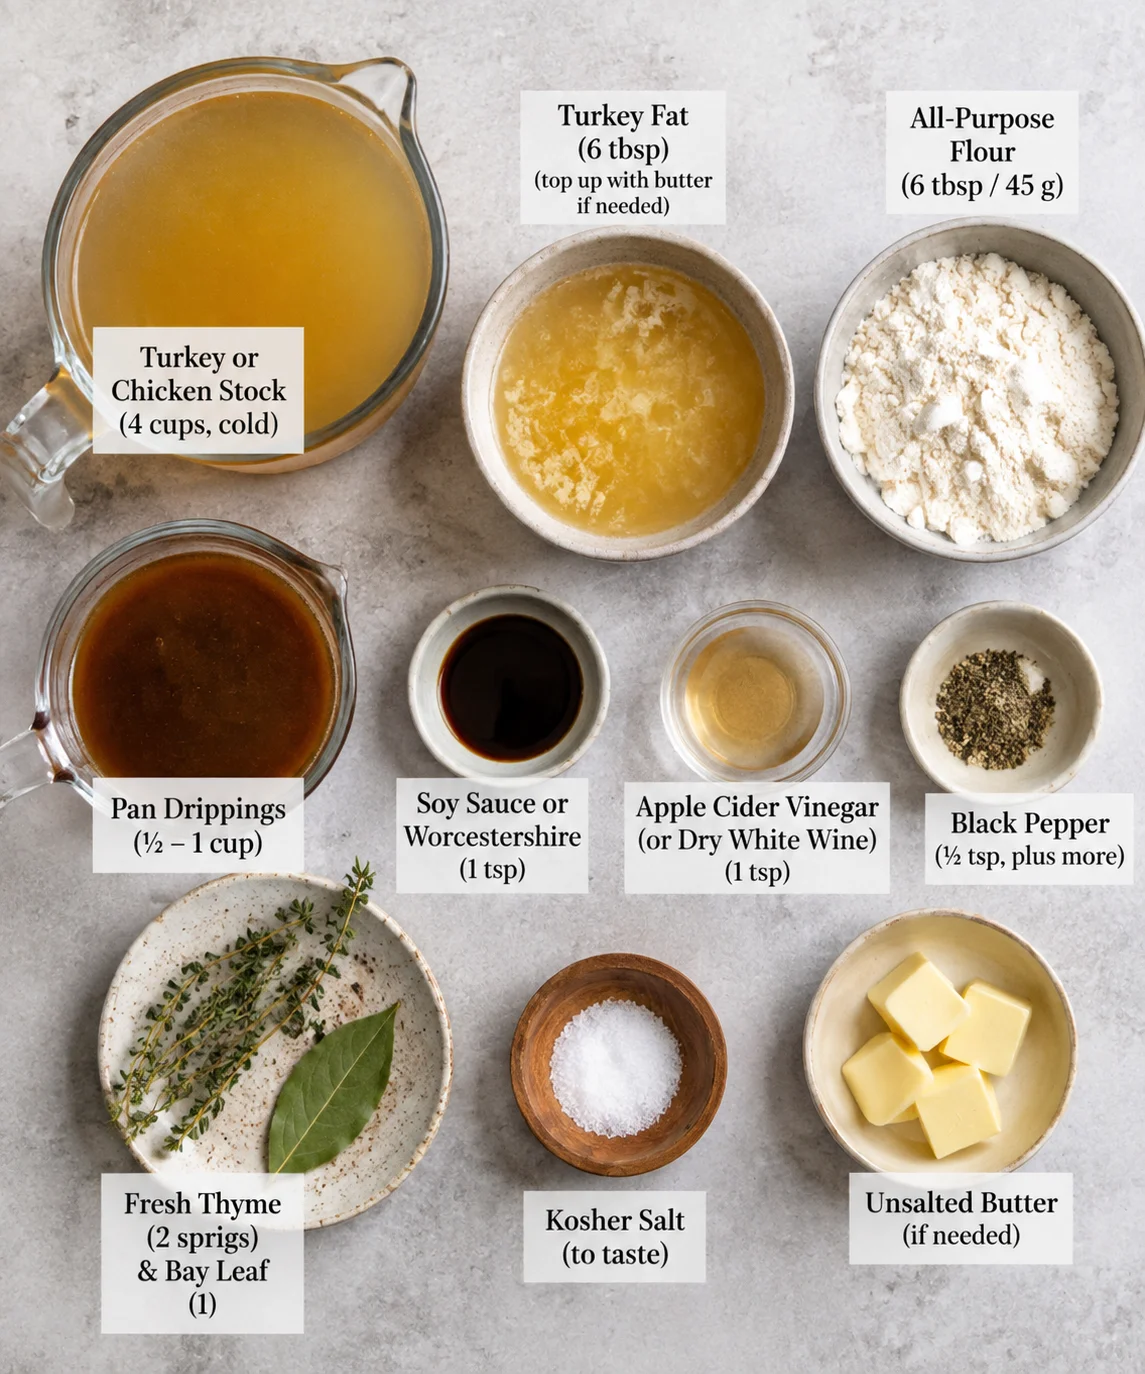
- 6 tablespoons turkey fat, skimmed from the drippings (top up with unsalted butter if you’re short)
- 6 tablespoons (45 g) all-purpose flour
- 4 cups (950 ml) cold turkey or low-sodium chicken stock, divided
- Defatted pan drippings from the roasting pan (however much you have usually ½ to 1 cup)
- 1 teaspoon soy sauce or Worcestershire sauce
- 2 sprigs fresh thyme
- 1 bay leaf
- ½ teaspoon freshly cracked black pepper, plus more to taste
- 1 teaspoon apple cider vinegar or dry white wine
- Kosher salt, to taste
A note on stock: use low-sodium, always. Drippings from a brined or salted bird are already seasoned, and regular boxed stock will push the finished gravy past salvageable. If you can, simmer the turkey neck and giblets in stock while the bird roasts twenty minutes of that beats any carton on the shelf.
A note on the fat: turkey fat gives you flavor butter can’t. Pour the drippings into a fat separator (or a tall glass and wait five minutes), then spoon the clear fat off the top. Keep the dark liquid underneath that’s going in too.
Equipment
- Roasting pan or the skillet you cooked in
- Fat separator, or a heatproof measuring cup
- Medium saucepan, 3-quart or larger
- Flat whisk (a balloon whisk works, but a flat one gets into the corners)
- Fine-mesh strainer
Step-by-Step Instructions
- Separate the fat: Pour everything from the roasting pan into a fat separator or tall glass. Let it settle for five minutes, then skim off 6 tablespoons of clear fat and set the dark drippings underneath aside. If you didn’t get enough fat, make up the difference with butter.
- Deglaze the pan: Set the roasting pan over two burners on medium heat. Add 1 cup of the cold stock and scrape hard with a wooden spoon until every browned patch lifts off the bottom. Pour this liquid in with your reserved drippings. Pro tip: if the fond looks nearly black in spots, taste the deglazing liquid before you commit it over-roasted drippings turn bitter, and it’s better to find out now than after it’s in the gravy.
- Make the roux: In a medium saucepan over medium heat, whisk the turkey fat and flour together. Keep whisking for 3 to 4 minutes, until the paste turns the color of peanut butter and smells faintly like toasted piecrust. Raw flour tastes like raw flour no matter how long the gravy simmers afterward, so don’t rush this.
- Add the cold stock: Pull the pan off the heat for a moment and pour in the remaining 3 cups of cold stock plus your deglazing liquid, whisking constantly. This is the part people get wrong. Hot liquid hitting a hot roux gelatinizes the starch instantly, which means any flour that hasn’t dispersed yet gets sealed into a lump you’ll never whisk out. Cold liquid buys you thirty to sixty seconds of working time enough to get everything smooth before it starts to thicken.
- Simmer and season: Return to medium heat, add the thyme, bay leaf, soy sauce, and black pepper. Bring to a gentle simmer and cook 8 to 10 minutes, stirring often, until the gravy coats the back of a spoon and a finger drawn through it leaves a clean line.
- Strain and finish: Pour through a fine-mesh strainer into your gravy boat. Stir in the vinegar or wine, then taste and salt. Serve hot it thickens as it sits, so add a splash of stock if it tightens up too much.
Common Mistakes to Avoid
- Pouring hot stock into a hot roux. This is the single biggest cause of lumpy gravy, and it happens because most of us have a pot of stock already warming on the stove. Use cold or room-temperature liquid instead, or at minimum take the roux off the heat first.
- Skipping the roux cooking time. A pale roux makes a gravy that tastes chalky and thin no matter how much salt you add. Those three minutes are doing real work.
- Salting early. Drippings vary wildly in saltiness. Season at the very end, after the gravy has reduced and concentrated.
- Leaving all the fat in. More fat doesn’t mean more flavor here it means a greasy film on top. Skim it, measure it, use exactly what the roux needs.
- Boiling it hard to thicken faster. A rolling boil can break the emulsion and dull the flavor. Keep it at a lazy simmer and give it the full ten minutes.
How to Store & Reheat
Cooled gravy keeps in an airtight container in the fridge for up to 4 days. It will set into something closer to pudding that’s normal, and it loosens right back up with heat.
To reheat, warm it in a saucepan over low heat with 2 to 3 tablespoons of stock or water, whisking until smooth. Microwaving works in a pinch: 30-second bursts, whisking between each.
For the freezer, portion it into a zip-top bag laid flat and freeze for up to 3 months. Thaw overnight in the fridge before reheating, and whisk vigorously as it warms flour-thickened sauces sometimes separate slightly after freezing, but they come back together with a little agitation.
Recipe Variations & Substitutions
- Gluten-free: Swap the flour for 3 tablespoons cornstarch whisked into ½ cup cold stock, and stir it into the simmering liquid instead of making a roux. Skip step 3 entirely.
- No drippings: Brown 1 pound of turkey wings in the saucepan first, then build the roux in the rendered fat. Not identical, but close.
- Giblet gravy: Simmer the neck and giblets in the stock, then chop the meat finely and stir it in after straining.
- Mushroom gravy: Sauté 8 ounces of sliced cremini in the turkey fat until deeply browned before adding the flour.
- Dairy-free: Already is, as long as you use turkey fat rather than butter.
- A little brighter: Finish with 1 teaspoon of Dijon instead of the vinegar for a gravy with more edge to it.
A Note on What’s In It
Gravy is a condiment, and it’s worth treating it like one a ¼-cup serving lands around 70 calories, most of it from the turkey fat and a small amount of flour. It’s a reasonable way to add moisture and flavor to lean white meat without much else going on nutritionally.
If sodium matters in your house, the two levers that actually move the number are low-sodium stock and holding off on salt until the very end. Using unsalted butter in place of some of the turkey fat cuts saturated fat slightly, though you’ll trade away some depth.
FAQ
Can I make turkey gravy ahead of time?
Yes, and it’s a good idea. Make the full recipe with plain turkey stock up to three days early, then reheat it on the day and whisk in your fresh pan drippings for the last two minutes. You get the flavor of same-day gravy without the scramble.
Why is my gravy lumpy, and can I fix it?
Usually it’s hot liquid meeting a hot roux, or the liquid going in too fast. Either way, it’s fixable: push the gravy through a fine-mesh strainer, or blitz it with an immersion blender for ten seconds.
How do I make gravy without pan drippings?
Brown turkey wings or thighs in your saucepan until the bottom is covered in fond, then deglaze with stock and proceed as written. Adding a teaspoon of soy sauce and a small pat of butter at the end helps cover the gap.
My gravy is too thin what now?
Let it simmer a few more minutes uncovered; reduction thickens it without adding starch. If you’re in a hurry, whisk 1 tablespoon cornstarch into 2 tablespoons cold water and stir it in, then simmer one more minute.
What if it’s too salty?
Add unsalted stock or water a few tablespoons at a time and re-thicken by simmering. A peeled potato simmered in the gravy for ten minutes helps a little, though dilution is the more reliable fix.
Can I use a blender or food processor instead of straining?
You can, but be careful over-blending a flour-thickened sauce can make it gummy. Ten seconds with an immersion blender is plenty, and a strainer is still the cleanest route to a silky texture.
Final Thoughts
Good gravy isn’t about a secret ingredient. It’s about giving the roux enough time to toast and then keeping your liquid cold when it goes in two small decisions that quietly determine whether you’re straining out lumps or ladling something glossy over the potatoes. Once you’ve done it this way, you won’t go back to the jar.
Now I’m curious: what are you serving this over besides the turkey — mashed potatoes, stuffing, or a hot roll the next morning?
- 6 tablespoons turkey fat skimmed from the drippings (top up with unsalted butter if you’re short)
- 6 tablespoons 45 g all-purpose flour
- 4 cups 950 ml cold turkey or low-sodium chicken stock, divided
- Defatted pan drippings from the roasting pan however much you have usually ½ to 1 cup
- 1 teaspoon soy sauce or Worcestershire sauce
- 2 sprigs fresh thyme
- 1 bay leaf
- ½ teaspoon freshly cracked black pepper plus more to taste
- 1 teaspoon apple cider vinegar or dry white wine
- Kosher salt to taste
Roasting pan or the skillet you cooked in
Fat separator, or a heatproof measuring cup
Medium saucepan, 3-quart or larger
Flat whisk (a balloon whisk works, but a flat one gets into the corners)
Fine-mesh strainer
Separate the fat: Pour everything from the roasting pan into a fat separator or tall glass. Let it settle for five minutes, then skim off 6 tablespoons of clear fat and set the dark drippings underneath aside. If you didn’t get enough fat, make up the difference with butter.
Deglaze the pan: Set the roasting pan over two burners on medium heat. Add 1 cup of the cold stock and scrape hard with a wooden spoon until every browned patch lifts off the bottom. Pour this liquid in with your reserved drippings. Pro tip: if the fond looks nearly black in spots, taste the deglazing liquid before you commit it over-roasted drippings turn bitter, and it’s better to find out now than after it’s in the gravy.
Make the roux: In a medium saucepan over medium heat, whisk the turkey fat and flour together. Keep whisking for 3 to 4 minutes, until the paste turns the color of peanut butter and smells faintly like toasted piecrust. Raw flour tastes like raw flour no matter how long the gravy simmers afterward, so don’t rush this.
Add the cold stock: Pull the pan off the heat for a moment and pour in the remaining 3 cups of cold stock plus your deglazing liquid, whisking constantly. This is the part people get wrong. Hot liquid hitting a hot roux gelatinizes the starch instantly, which means any flour that hasn’t dispersed yet gets sealed into a lump you’ll never whisk out. Cold liquid buys you thirty to sixty seconds of working time enough to get everything smooth before it starts to thicken.
Simmer and season: Return to medium heat, add the thyme, bay leaf, soy sauce, and black pepper. Bring to a gentle simmer and cook 8 to 10 minutes, stirring often, until the gravy coats the back of a spoon and a finger drawn through it leaves a clean line.
Strain and finish: Pour through a fine-mesh strainer into your gravy boat. Stir in the vinegar or wine, then taste and salt. Serve hot it thickens as it sits, so add a splash of stock if it tightens up too much.
Homemade Turkey Gravy
Last modified: September 19, 2026