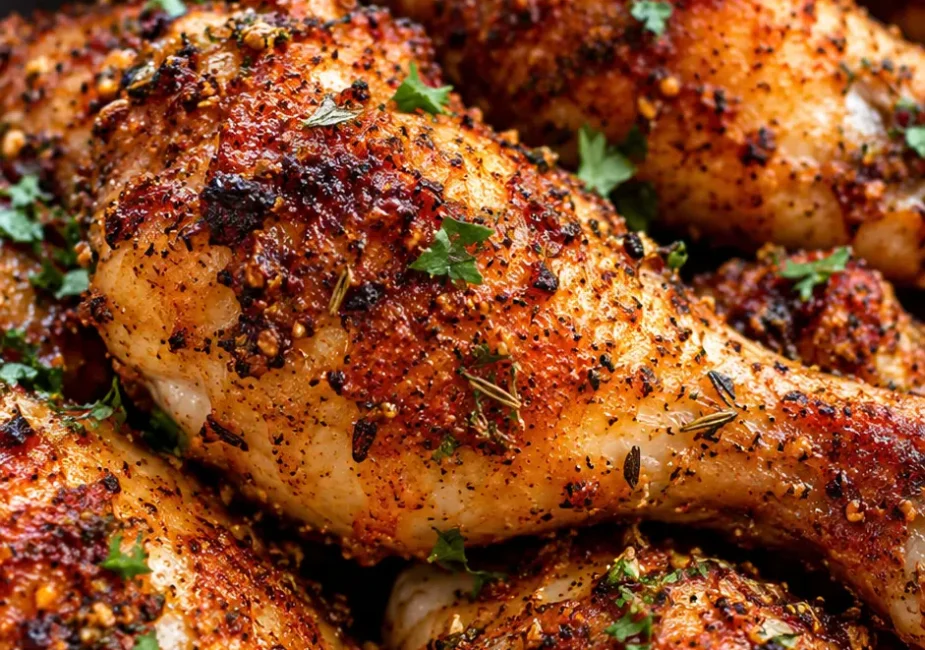
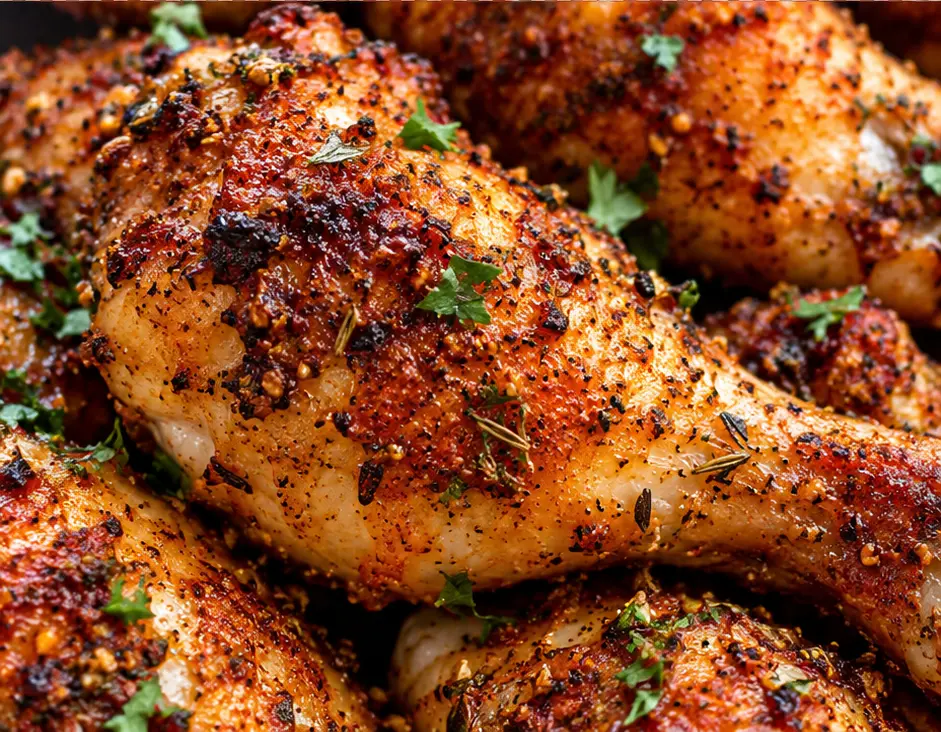
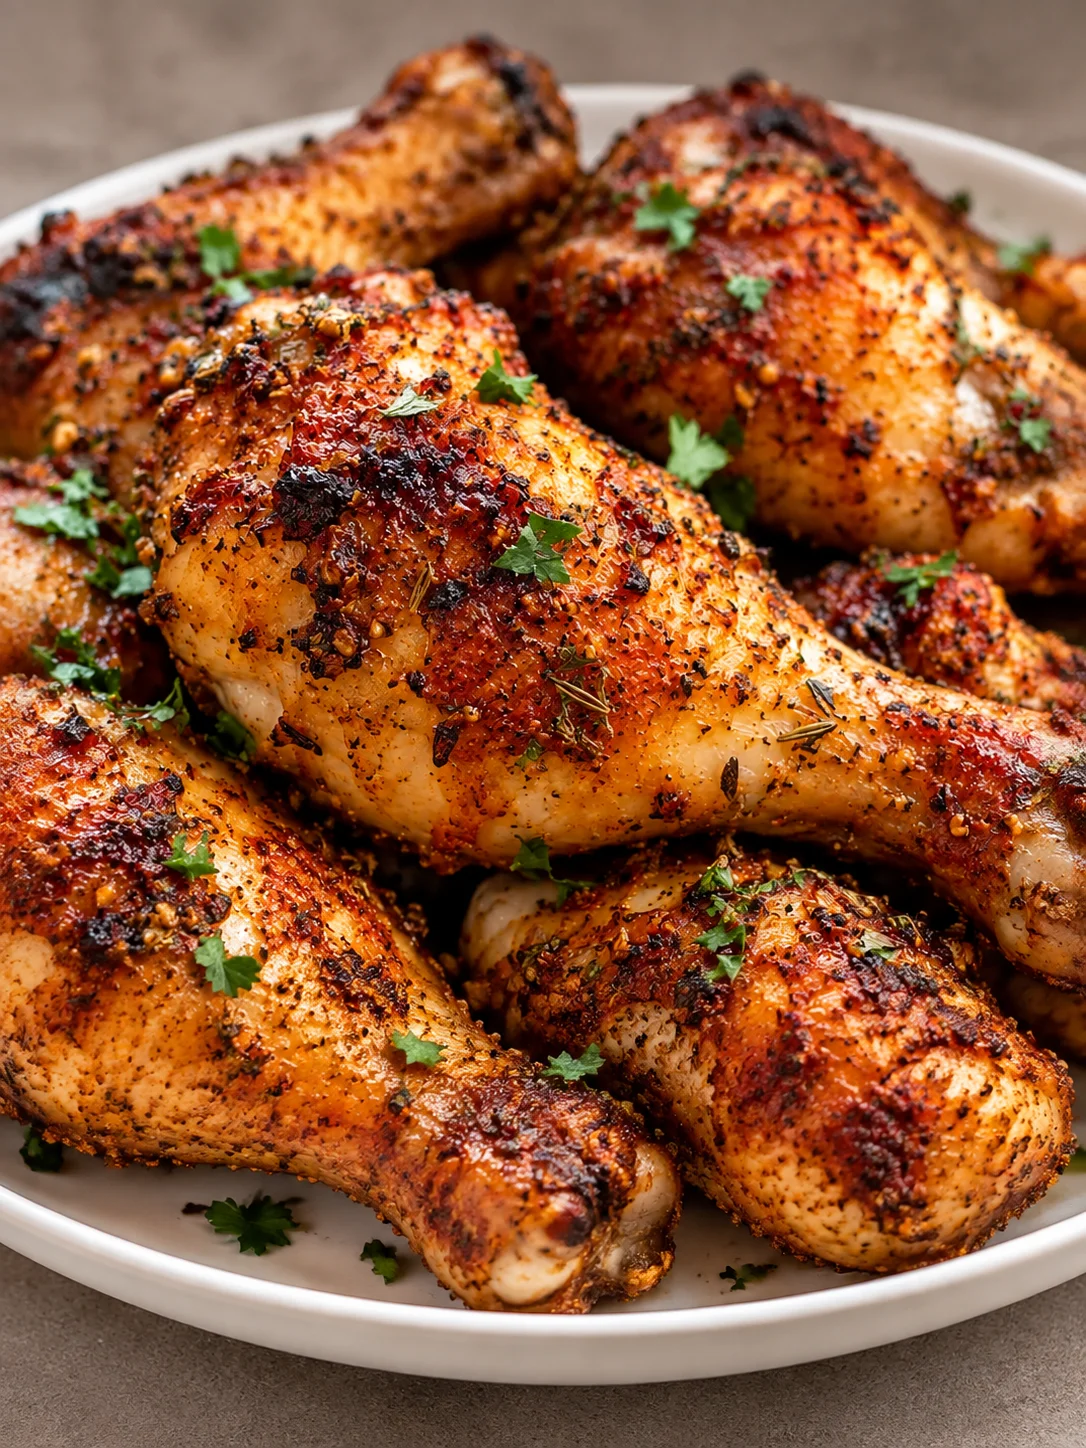
There’s a specific sound properly crispy chicken skin makes when you bite into it a sharp, dry crackle before you even get to the juicy meat underneath. Most oven-baked drumstick recipes promise that sound and deliver something closer to a soft, rubbery surface instead, and it’s almost never the seasoning’s fault.
It’s moisture. Chicken skin has to lose a meaningful amount of surface water before it can actually crisp in the oven, and skipping that step is the single biggest reason homemade oven chicken doesn’t compete with fried. Here’s how it comes together.
Why You’ll Love It
- Genuinely crispy skin from the oven, no deep fryer or air fryer needed the drying step covered below is what makes this possible.
- Simple seasoning, big flavor. A handful of pantry spices does real work here.
- Hands-off cook time. Once they’re in the oven, there’s very little to manage.
- Budget-friendly. Drumsticks are consistently one of the cheaper cuts of chicken.
- Kid-approved shape and size easy to eat, easy to love.
- Freezer-friendly for meal prep, unlike a lot of fried foods that don’t reheat well.
Recipe At a Glance
- Prep time: 10 minutes active, plus 1+ hour drying time
- Cook time: 40 minutes
- Total time: about 2 hours (mostly hands-off)
- Servings: 4 (2–3 drumsticks per person)
- Estimated nutrition per serving (2 drumsticks): ~340 calories, 30g protein, 2g carbohydrates, 22g fat. These are estimates only and will shift depending on drumstick size and how much skin you eat.
Ingredients
- 8–10 chicken drumsticks
- 1 tablespoon baking powder (not baking soda see notes)
- 1 tablespoon olive oil
- 2 teaspoons smoked paprika
- 1½ teaspoons garlic powder
- 1 teaspoon onion powder
- 1 teaspoon salt
- ½ teaspoon black pepper
- ¼ teaspoon cayenne, optional
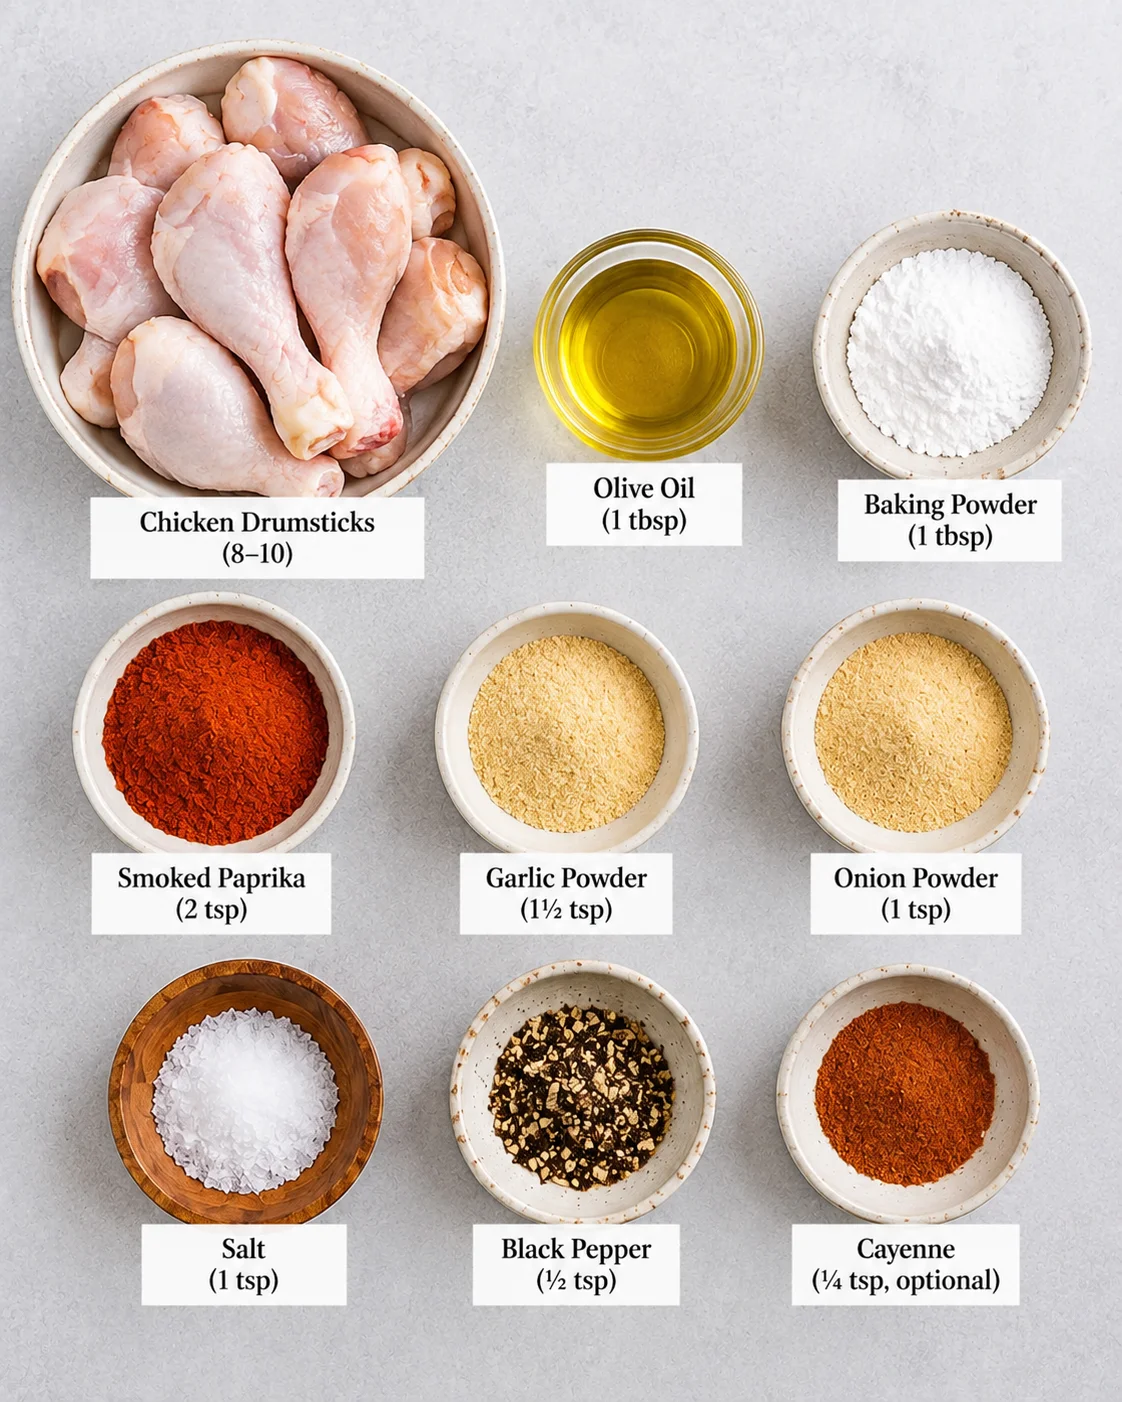
Ingredient notes: Make sure you’re using baking powder, not baking soda they’re not interchangeable here. Baking powder is slightly alkaline and helps break down proteins in the skin to promote crisping, while baking soda in the same quantity can leave a faintly soapy, metallic taste. Double-check the label before you measure.
Equipment Needed
- Wire rack set inside a rimmed baking sheet
- Paper towels
- Small bowl, for mixing the seasoning
Step-by-Step Instructions
1. Pat the chicken completely dry. Pat each drumstick dry with paper towels, pressing firmly to remove as much surface moisture as you can. Don’t rush this a quick, light pat leaves far more water on the skin than you’d expect.
2. Air-dry the chicken in the fridge. Place the drumsticks on a wire rack set over a baking sheet, uncovered, and refrigerate for at least 1 hour, ideally overnight. This is the step that separates genuinely crispy oven chicken from the soft, rubbery kind: chicken skin holds onto a surprising amount of surface moisture even after patting it dry, and that moisture turns to steam in the oven before the skin has any chance to crisp. The dry environment of an open fridge pulls that remaining moisture out over time, so the skin goes into the oven already closer to dry than damp.
3. Mix the seasoning. Combine the baking powder, smoked paprika, garlic powder, onion powder, salt, pepper, and cayenne (if using) in a small bowl.
4. Coat the drumsticks. Toss the dried drumsticks with the olive oil first, then sprinkle the seasoning mixture evenly over all sides, pressing gently so it adheres. Pro tip: season them still on the wire rack rather than in a bowl tossing them around after this point undoes some of the drying work from Step 2 by reintroducing surface moisture from your hands or the bowl.
5. Bake at high heat. Preheat the oven to 425°F. Bake the drumsticks on the wire rack for 35–40 minutes, until the skin is deeply golden and crisp and the internal temperature reaches 165°F at the thickest part, not touching bone.
6. Rest briefly before serving. Let the drumsticks rest for 5 minutes on the rack before serving this keeps the crispy skin from steaming itself soft against a plate.
Common Mistakes to Avoid
- Skipping the air-drying step in the fridge. This is the exact reason most homemade oven chicken skin stays soft instead of crisping the surface moisture simply hasn’t had time to leave.
- Using baking soda instead of baking powder. They react differently with the chicken’s proteins, and baking soda in the same quantity can leave an off, slightly soapy taste.
- Baking directly on a sheet pan instead of a wire rack. Without airflow underneath, the bottom of the chicken sits in its own rendered fat and steams instead of crisping.
- Coating the chicken in a bowl after it’s been dried. Tossing it around reintroduces moisture right before it goes in the oven, working against the drying step.
- Baking at too low a temperature. A gentler oven takes longer and gives the skin more time to dry out from the outside without ever developing real color and crunch.
How to Store & Reheat
Refrigerator: Store in an airtight container for up to 4 days.
Freezer: Cooked drumsticks freeze well for up to 3 months.
Reheat: Reheat in a 400°F oven for about 12–15 minutes on a wire rack to bring back the crispiness the microwave will heat them through but leaves the skin soft.
Recipe Variations & Substitutions
- Buffalo-style: Toss the baked drumsticks in buffalo sauce right before serving for a spicier, tangier version.
- Gluten-free: Already naturally gluten-free as written; just double-check your specific spice blends for any additives.
- Lower-sodium: Reduce the added salt and rely more on the smoked paprika and garlic powder for flavor.
- Herb-forward version: Add dried thyme and rosemary to the spice mix for a more savory, herby profile.
- Honey garlic glaze: Brush with a honey garlic glaze during the last 5 minutes of baking for a sticky-sweet finish (note this will soften the crispy skin somewhat).
- Air fryer version: These work well in an air fryer too cook at 380°F for about 25 minutes, flipping halfway, still starting from dried, chilled chicken.
A Note on Nutrition
This recipe leans on chicken drumsticks for a solid, affordable protein source, with the skin contributing most of the fat content. Removing the skin before eating will lower the fat significantly if that’s something you’re tracking, though you’ll obviously lose the crispy texture that’s the whole point of this method. As always, these are general observations rather than medical advice a nutritionist or doctor is the right resource for anything specific to your own needs.
Frequently Asked Questions
Do I really need to dry the chicken overnight?
An hour in the fridge will get you noticeably better results than skipping the step entirely, but overnight gives the skin more time to lose moisture and generally produces the crispiest result.
Can I use baking soda instead of baking powder?
It’s not recommended in the same quantity baking soda is more alkaline and can leave a slightly metallic or soapy taste on the skin. Stick with baking powder for this method.
Why is my chicken skin still not crispy?
The most common cause is skipping or rushing the drying step, or baking directly on a sheet pan instead of a wire rack. Both steps work together to remove moisture and allow airflow underneath.
Can I use chicken thighs instead of drumsticks?
Yes the same drying and seasoning method works well on thighs; just adjust the bake time slightly longer for larger pieces.
What if I don’t have a wire rack?
You can bake directly on a foil-lined sheet pan in a pinch, but flip the drumsticks halfway through to help the bottoms crisp, since they won’t get airflow the way they would on a rack.
Can I make these ahead of time for a party?
Yes bake them fully, then reheat in a hot oven on a wire rack right before serving to bring back the crisp texture rather than serving them straight from the fridge.
Final Thoughts
That hour (or overnight) of drying in the fridge is the quiet workhorse of this whole recipe it’s the reason you get real, audible crunch instead of the soft skin so many oven-baked chicken recipes end up with. Everything else is genuinely simple once that part’s handled. How spicy are you taking yours a light dusting of cayenne, or going all in?
- 8 –10 chicken drumsticks
- 1 tablespoon baking powder not baking soda see notes
- 1 tablespoon olive oil
- 2 teaspoons smoked paprika
- 1½ teaspoons garlic powder
- 1 teaspoon onion powder
- 1 teaspoon salt
- ½ teaspoon black pepper
- ¼ teaspoon cayenne optional
Pat the chicken completely dry. Pat each drumstick dry with paper towels, pressing firmly to remove as much surface moisture as you can. Don’t rush this a quick, light pat leaves far more water on the skin than you’d expect.
Air-dry the chicken in the fridge. Place the drumsticks on a wire rack set over a baking sheet, uncovered, and refrigerate for at least 1 hour, ideally overnight. This is the step that separates genuinely crispy oven chicken from the soft, rubbery kind: chicken skin holds onto a surprising amount of surface moisture even after patting it dry, and that moisture turns to steam in the oven before the skin has any chance to crisp. The dry environment of an open fridge pulls that remaining moisture out over time, so the skin goes into the oven already closer to dry than damp.
Mix the seasoning. Combine the baking powder, smoked paprika, garlic powder, onion powder, salt, pepper, and cayenne (if using) in a small bowl.
Coat the drumsticks. Toss the dried drumsticks with the olive oil first, then sprinkle the seasoning mixture evenly over all sides, pressing gently so it adheres. Pro tip: season them still on the wire rack rather than in a bowl tossing them around after this point undoes some of the drying work from Step 2 by reintroducing surface moisture from your hands or the bowl.
Bake at high heat. Preheat the oven to 425°F. Bake the drumsticks on the wire rack for 35–40 minutes, until the skin is deeply golden and crisp and the internal temperature reaches 165°F at the thickest part, not touching bone.
Rest briefly before serving. Let the drumsticks rest for 5 minutes on the rack before serving this keeps the crispy skin from steaming itself soft against a plate.
Extra Crispy Oven-Baked Chicken Drumsticks
Last modified: September 29, 2026